
|
|
|
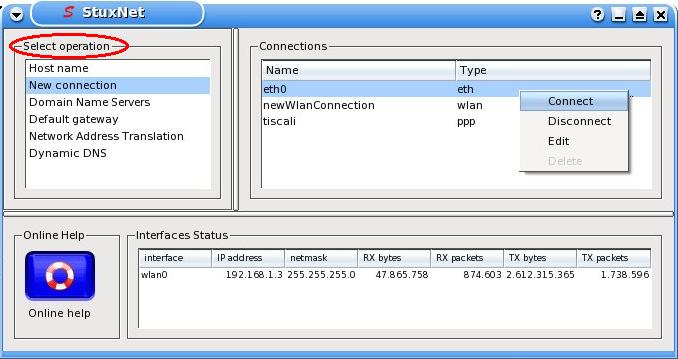
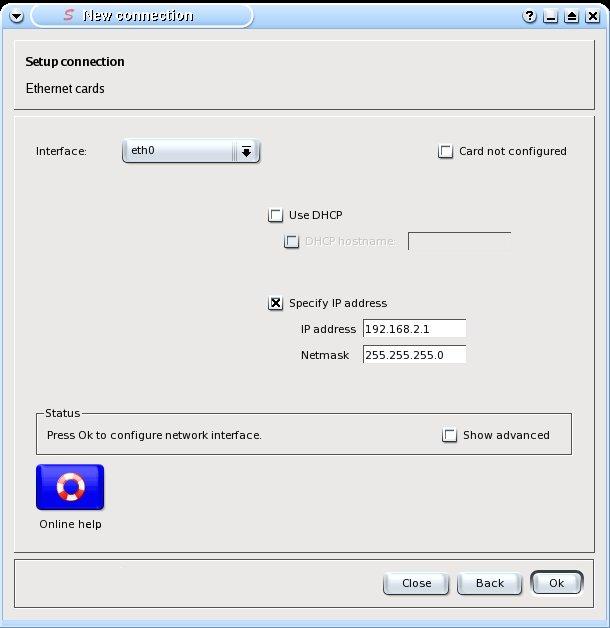
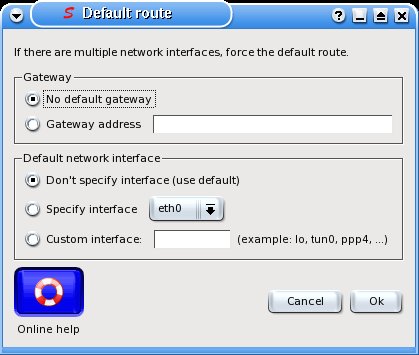
STUX CONTROL CENTER -> NETWORK -> Network configurationyou will see a window like this:
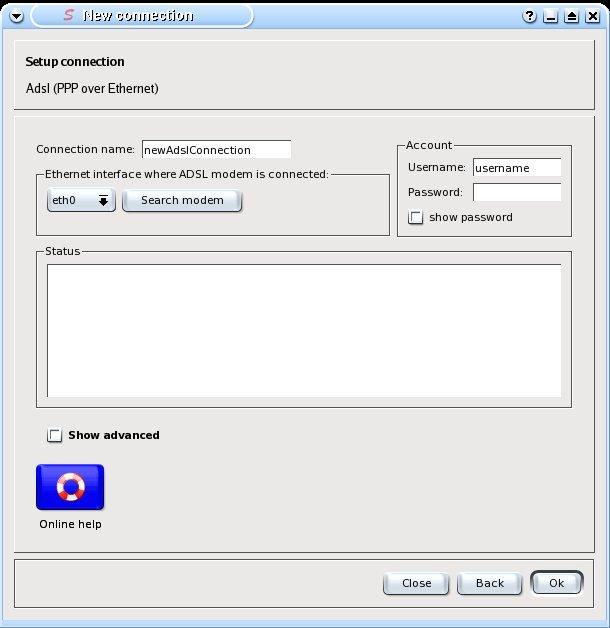
cat /var/log/syslog /var/log/messages /var/log/pppd.stux.log | grep -i pppYou can track pppd connections current status with a command like this:
tail -f /var/log/syslog /var/log/messages /var/log/pppd.stux.log | grep -i ppp
 There is a public forum about this argument
 There is a public forum about this argument
cat /var/log/syslog /var/log/messages /var/log/pppd.stux.log | grep -i pppYou can track pppd connections current status with a command like this:
tail -f /var/log/syslog /var/log/messages /var/log/pppd.stux.log | grep -i ppp
There is a public forum about this argument
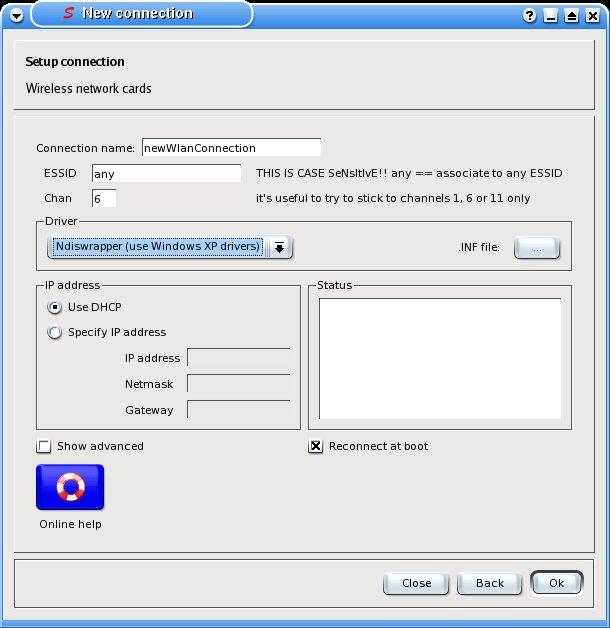
lspci | grep -i acxif none is returned, your card does not support ACX driver, else the description of the card is shown.
There is a public forum about this argument
 There is a public forum about this argument
 There is a public forum about this argument
|
|

|